


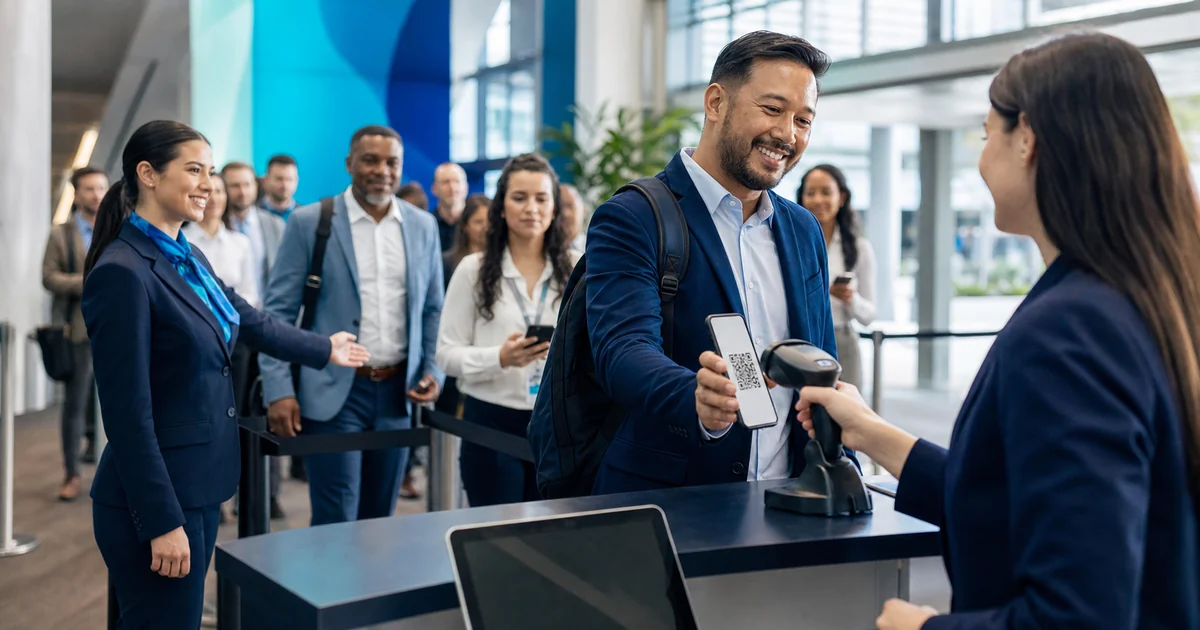
The check-in table is the first thing your guests physically touch, and it is the one moment where a well-planned event can unravel in public. A line stretching out the door, a scanner that will not connect, a name that is not on the list — each of those turns anticipation into friction before the event has even started. The reassuring part is that fast, calm check-in is almost entirely a matter of preparation rather than luck. This guide walks through the practices that keep the door moving: what to set up in advance, how many people to put on scanners, when to scan versus look guests up by name, how to keep several devices in sync, and how to stay in control when the Wi-Fi drops. It is written for the organizer or volunteer coordinator who will actually be standing at the door on the day.
Start with a pre-event check-in checklist
Most check-in disasters are decided the night before, not at the door. A short written checklist keeps you from discovering a problem at the exact moment you can no longer fix it. Before the doors open, make sure you have worked through the essentials:
- Sync or export your final guest list. Pull the latest attendee data so late registrations and name changes are included. If your platform syncs live, confirm every device is signed in to the correct event.
- Charge everything and pack backups. Phones and tablets used for scanning drain fast under a bright screen and constant camera use. Bring chargers, a battery pack, and one more device than you think you need.
- Test the scanner with a real ticket. Do a live test scan the day before, not a mental one. Confirm a valid code turns green and an already-used code is rejected.
- Print a small paper backup. A printed alphabetical list is a five-minute insurance policy against a total device or connectivity failure.
- Brief your volunteers. Walk the team through the flow, the walk-in policy, and who to escalate a problem to, so nobody freezes at the table with a queue building behind them.
- Plan the physical layout. Decide where lines form, where signage goes, and how checked-in guests exit the area so arrivals and entries do not collide.
Staffing and line math: how many scanners do you need?
Under-staffing the door is the most common cause of a slow entrance, and it is entirely avoidable with a little arithmetic. The key insight is that guests do not arrive evenly — they cluster in the twenty to thirty minutes before the advertised start time. Plan for that peak, not for the average.
A simple way to size your team: estimate how many guests will arrive in your busiest window, decide the longest wait you find acceptable, and work backwards. As an illustrative example with round numbers, if roughly 300 guests turn up in a 30-minute rush and a clean QR scan takes about 6 seconds, one lane processes around 300 entries in that window — cutting it far too close. Two or three lanes give you comfortable headroom for the guest who cannot find their ticket. Treat these figures as a planning sketch to adjust against your own event, not a fixed rule.
Scanning is meaningfully faster than searching a list by name, which is why entry method matters to staffing. One check-in vendor, fielddrive, has reported that QR-based entry can cut wait times by roughly 73% compared with paper lists; that is a vendor observation rather than an independent benchmark, but it points in the direction most organizers experience. The practical takeaway is to make scanning the default path and reserve manual lookup for exceptions.
QR scanning vs manual lookup
Scanning a unique code is the fastest way to admit someone: the device confirms the ticket is genuine, unused, and for this event in a single motion. Manual lookup — typing a name and searching — is slower and more error-prone, but you will always need it as a fallback for the guest who deleted the email, arrived on a colleague's ticket, or was added to the guest list by hand.
The strongest setup is a hybrid one. Run scanning as your main lane and keep one staffed position for name lookups and problems, so a single confused guest never stalls the whole queue. If you are still deciding how to issue and validate codes, our complete QR code check-in setup guide covers generating tickets and validating them at the door end to end.
Multi-device sync without the chaos
The moment you run more than one scanner, a new risk appears: the same ticket being accepted twice at two different lanes. This happens when each device keeps its own separate copy of the guest list and they never compare notes. The fix is a shared, real-time list — every scan is written to one central record, so a code marked used on lane one is instantly rejected on lane two.
When you evaluate tools for a multi-lane door, confirm that check-ins reconcile across devices in real time rather than at the end of the night. The Everlage scanner app is built around a shared attendee record so multiple team members can scan the same event at once without double-admitting anyone. Assign each volunteer their own lane, agree on which device handles walk-ins, and the door stays orderly even at peak.
Handling walk-ins and door sales
Even a pre-registered event gets people at the door: the plus-one nobody mentioned, the guest who meant to register and forgot, the last-minute decision. Plan for them deliberately instead of improvising.
Give walk-ins their own lane so they never slow down pre-registered guests, who should flow through in seconds. At that lane, decide in advance how you collect details and payment, and check the number against your true capacity before admitting anyone — the door is exactly where an oversell becomes a safety and goodwill problem. If registering a walk-in on the spot is cumbersome, that friction lands at the worst possible moment, so choose a system that lets you add and admit someone in a few taps.
Failure modes: dead Wi-Fi, duplicates, and fraud attempts
Good door operations plan for what goes wrong, not just for the happy path. Three failure modes account for most check-in emergencies.
Dead or overloaded Wi-Fi. Venue connectivity fails more often than people expect, especially once a few hundred guests arrive with phones. A scanner that only works online will strand you. Look for an app that can validate tickets against a cached list and sync when the connection returns; our guide to how offline event check-in works explains what to look for and how it keeps the door moving without a signal.
Duplicate scans. Duplicates come from two sources: a genuinely forwarded or screenshotted ticket, and the multi-device sync gap described above. Unique, single-use codes plus a shared real-time record close both gaps — the second person presenting the same code is politely stopped rather than waved through.
Fraud attempts. The common ones are simple: a screenshot of someone else's ticket, or the same code forwarded to a group chat. Because a properly issued code is single-use, the first scan admits the real holder and every copy afterward fails. Brief your team to stay calm and route disputes to a supervisor rather than debating at the front of the line.
What to do with your check-in data afterwards
The check-in scan is not just a gate; it is the most reliable attendance data you will ever collect, and it is wasted if you close the laptop and forget it. A few numbers are worth capturing every time.
Start with your no-show rate — registrations minus actual arrivals. It tells you how much to over-release next time and whether reminder emails are working. Look at your arrival curve: if 70% of guests came in one fifteen-minute crush, you now know exactly how to staff the next door. Compare attendance across ticket types or segments to see who actually shows up versus who merely signs up. Feed all of it forward: this event's real attendance is next event's capacity plan, staffing model, and promotion baseline. Over a few events, that record turns door-day guesswork into a repeatable system.
Fast check-in is preparation made visible. Work the checklist, size your lanes to the arrival peak, make scanning the default, keep your devices on one shared record, and have an offline plan ready — and the door becomes the calmest part of your event instead of the riskiest. When you are ready to put it into practice, the Everlage scanner app handles QR validation and shared multi-device check-in so your team can run a fast, orderly door.
